Experience lightning-fast speeds, unparalleled uptime, and exceptional support with OneHost BD.
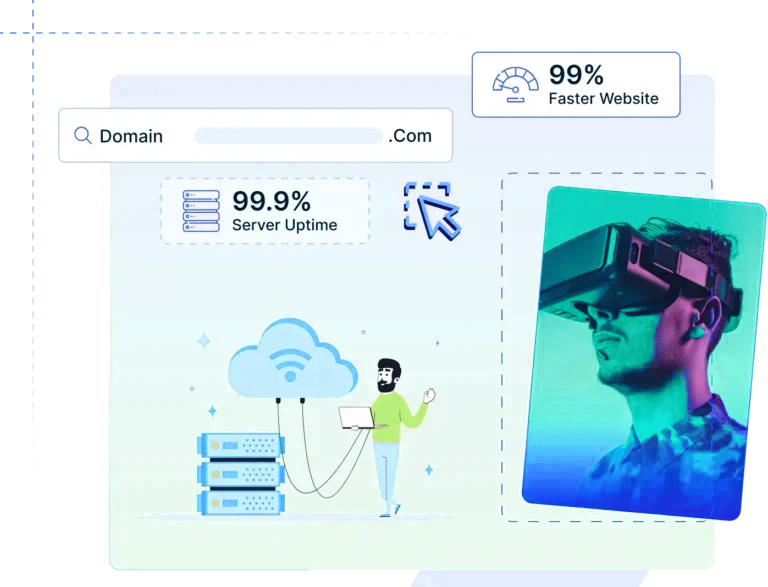
Search for available domains and register them instantly
The ideal domain instantly conveys your online purpose and uniqueness.
Secure your .com domain today and build your brand identity.
Secure your .net domain today and build your brand identity.
Secure your .org domain today and build your brand identity.
Secure your .info domain today and build your brand identity.
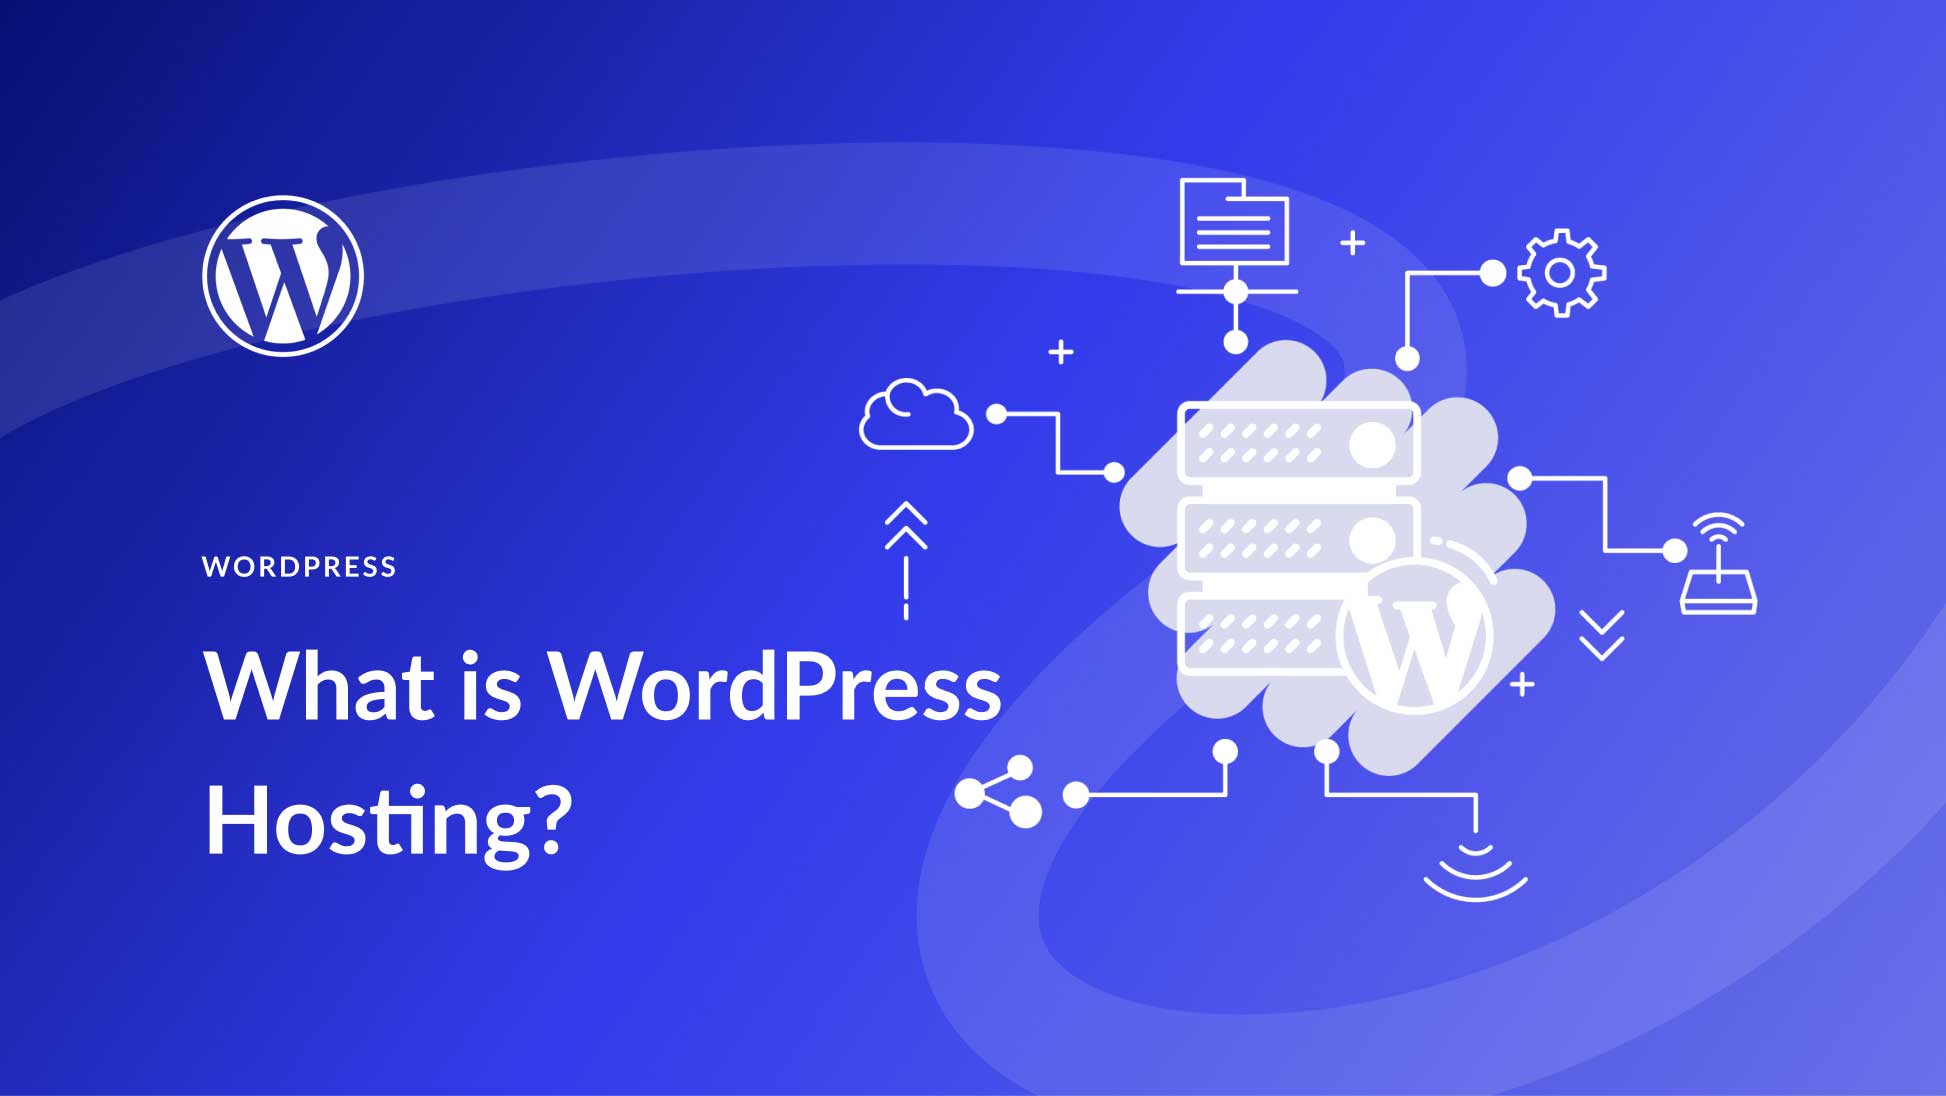
Maximize the potential of your WordPress website with specialized hosting that delivers optimal performance.
Get fast, reliable WordPress hosting with a 30-day money-back guarantee.
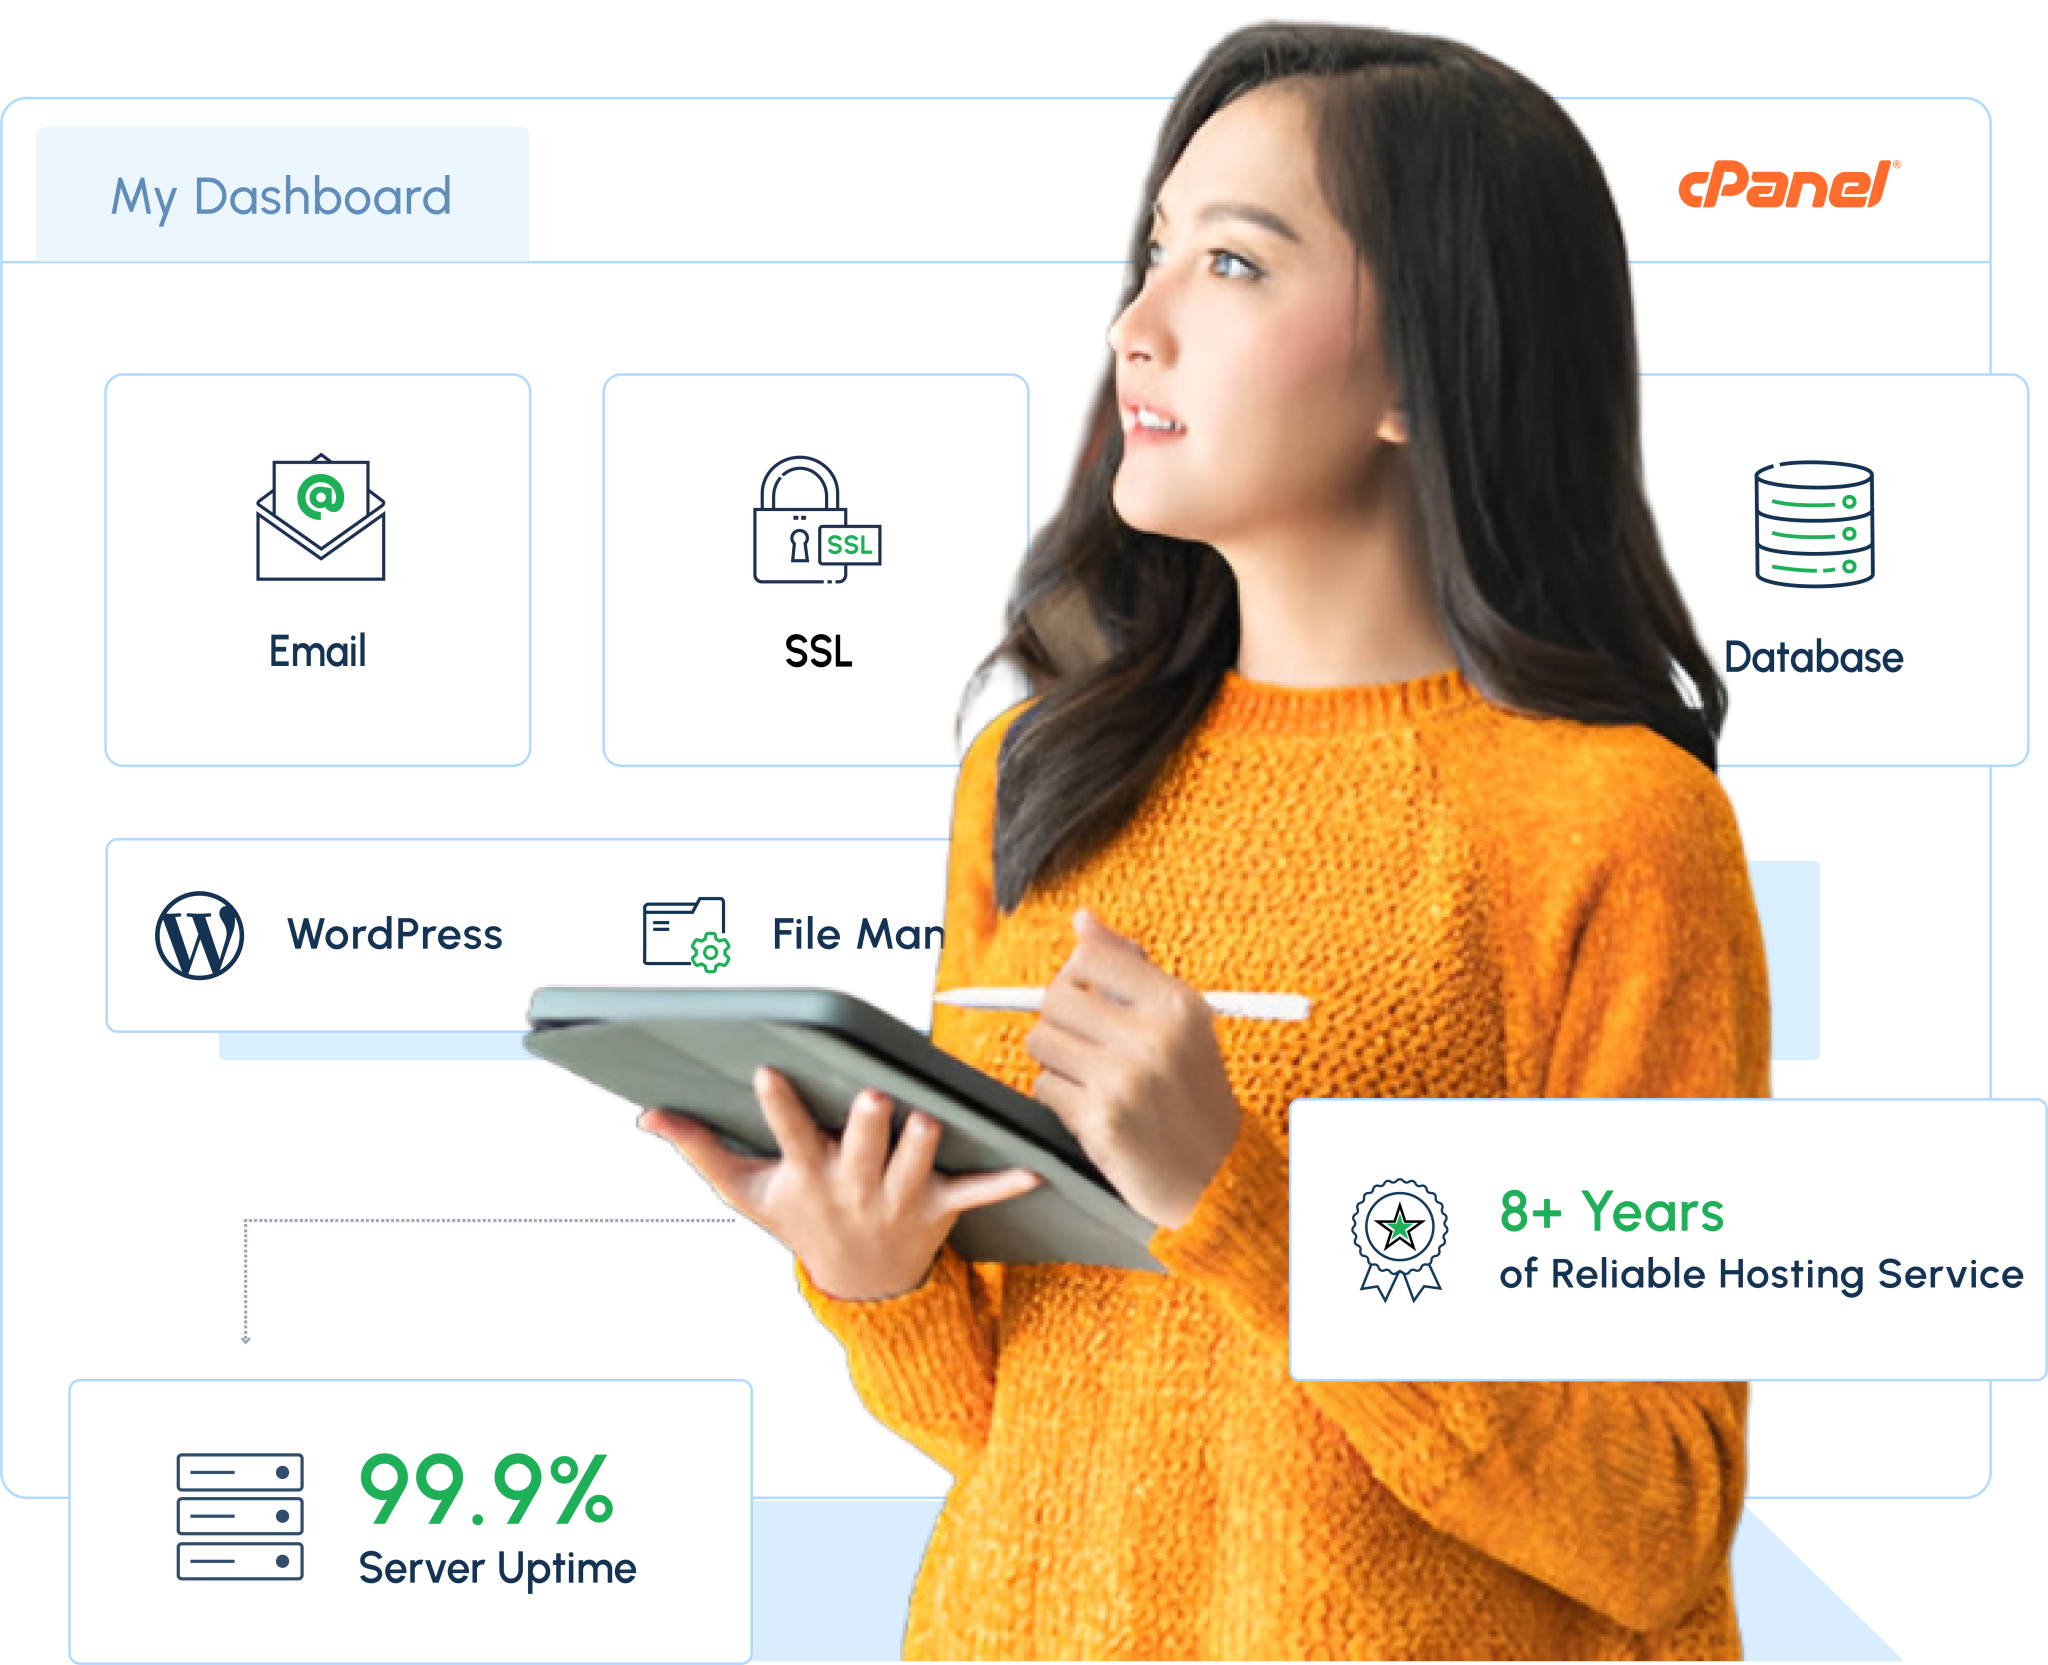
Our shared hosting is built for speed and security to ensure your website always stays online.
Take control of your hosting with dedicated resources and full root access.
Start your own hosting business with our powerful and easy-to-use reseller hosting plans.
Experience premium hosting solutions designed for modern websites and applications.

Maximize the potential of your WordPress website with specialized hosting that delivers optimal performance.
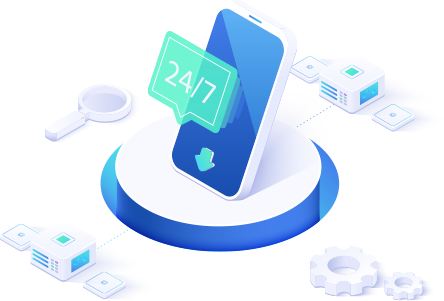
With how-to advice and award-winning support, GoHost Guides can help whether you're a customer or not.
Get in touch at 1-480-1123-231
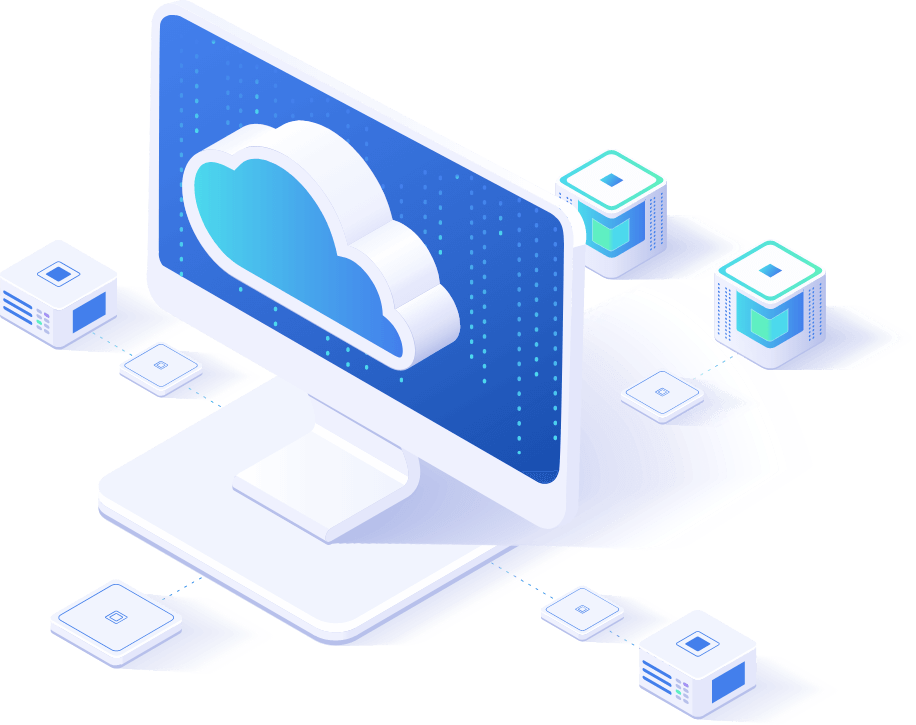
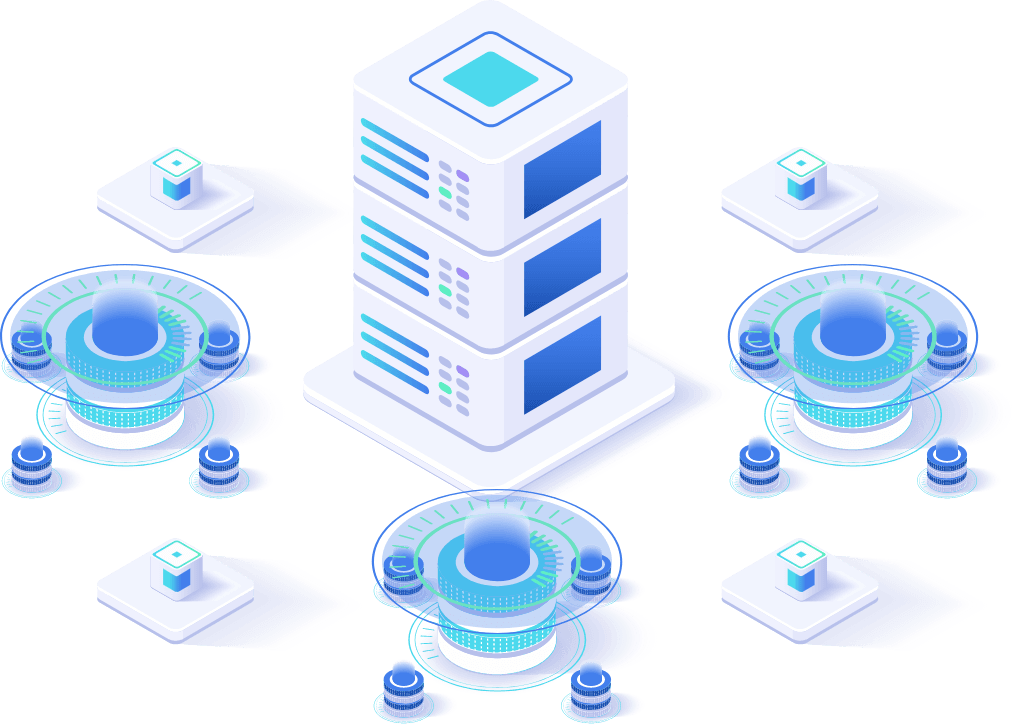
We have strategically placed servers around the world to ensure the fastest possible speeds.

Stay updated with the latest trends, tips, and news from the world of web hosting and cloud computing.