
Subdomain play a crucial role in organizing and categorizing content in the vast landscape of website management, . They allow you to create distinct sections within your main domain, providing a structured approach to your website. If you're using the new cPanel, the process of creating subdomains is straightforward and user-friendly. In this guide, we'll walk you through the steps to create subdomains on the new cPanel interface.
For example, you can create a subdomain for your blog that is accessible through blog.domain.com.
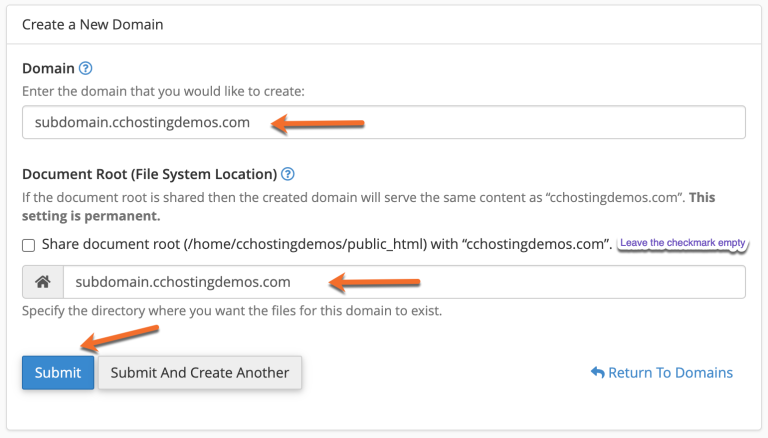
How to create a Subdomain in cPanel

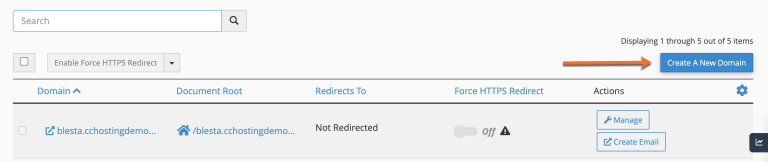
From cPanel > Domains area, you can see the list of subdomains under your main account, and you can manage or delete these anytime needed.
That’s it! You now know how to create subdomains in cPanel.
Creating subdomains on the new cPanel is a straightforward process that enhances the organization and structure of your website. Whether you're building a blog, setting up an online store, or creating distinct sections for different purposes, subdomains can help you achieve a more organized and user-friendly web presence. With this step-by-step guide, you'll be able to efficiently create subdomains and tailor your website to meet your specific needs.