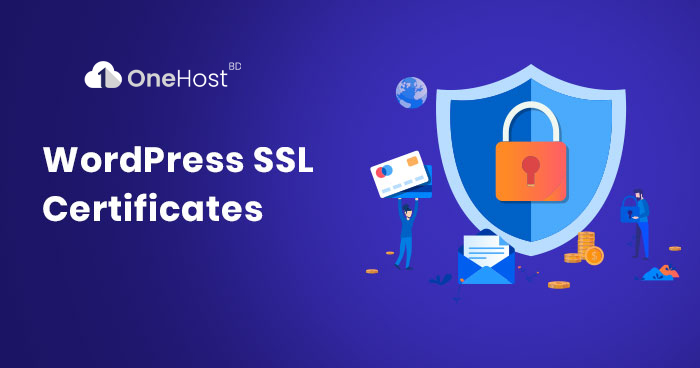
SSL Install on WordPress Website. In today's digital age, online security is paramount. With cyber threats on the rise, safeguarding your website and protecting your visitors' data has never been more critical. One fundamental way to enhance security is by installing an SSL (Secure Sockets Layer) certificate on your website. Not only does SSL encryption secure the connection between your site and its visitors, but it also boosts your site's credibility and can even improve search engine rankings. If you're running a WordPress website and haven't implemented SSL yet, don't worry! In this guide, we'll walk you through the process step by step.
We have an important subject to tackle and a lot of ground to cover, so let’s dive right in!
Before you can SSL Install on your WordPress site, you need to select the right SSL certificate for your needs. There are several types of SSL certificates available, including:
Consider your website's structure and requirements to determine which type of SSL certificate suits you best.
How to Configure WordPress to Use SSL and HTTPS (2 Methods)
After installing the SSL certificate on your hosting account, it's time to update your WordPress settings to ensure your site functions properly over HTTPS. Follow these steps:

That’s all it takes to configure WordPress to use HTTPS. However, some users might have saved your website’s old URL, and it may be linked to across the web. You need to make sure those people make it to the HTTPS version of your site instead. To do that, you can set up a URL redirect.
There are many types of redirects you can use. However, you’re generally best off using a 301 redirect, which tells search engines that your website has moved permanently from one address to another. To implement this redirect, you need to edit a file called .htaccess, which controls how your server interacts with WordPress, as well as its URL structure.
This will require you to access your site’s files directly, using a File Transfer Protocol (FTP) tool such as FileZilla. If it’s your first time doing this, you can find all the details in our FTP guide.
Once you connect to your website via FTP, navigate to the public_html folder and look for the .htaccess file within:

Select that file and right-click on it, then choose the View/Edit option. This will open the file using your local text editor, enabling you to make changes to it. Don’t alter any of the code within .htaccess unless you know what you’re doing. Just scroll to the very bottom of the file, and paste in the following snippet:
<IfModule mod_rewrite.c>
RewriteEngine On
RewriteCond %{SERVER_PORT} 80
RewriteRule ^(.*)$ https://www.yoursite.com/$1 [R,L]
</IfModule>
For this to work, you’ll need to replace the placeholder URL in this code with your website’s full HTTPS address. This will redirect any connection that comes through port 80 to your new, secure URL. As you may know, port 80 is the default for HTTP connections, so this will catch just about anyone trying to access your website through the old address.
Once you’ve added the code with your URL, save your changes to .htaccess and close the file. FileZilla will ask if you want to upload those changes to your server, which you’ll want to agree to. If you try visiting your website using the HTTP URL now, your browser should automatically redirect WordPress to HTTPS version instead.
If you’d rather not work directly with your WordPress files, there are easier ways to enforce HTTPS use throughout your website. For example, you can set up a WordPress SSL plugin, which adds the same code we showed you in the previous method.
While this approach is much simpler, it also comes with some added risk. For example, if compatibility issues arise with another tool, your SSL plugin could stop working and your website won’t load over HTTPS until you fix the issue. That means you’ll want to choose your plugin carefully.
We recommend Really Simple SSL, since it’s remarkably easy to set up. All you need is a WordPress SSL certificate ready to go:
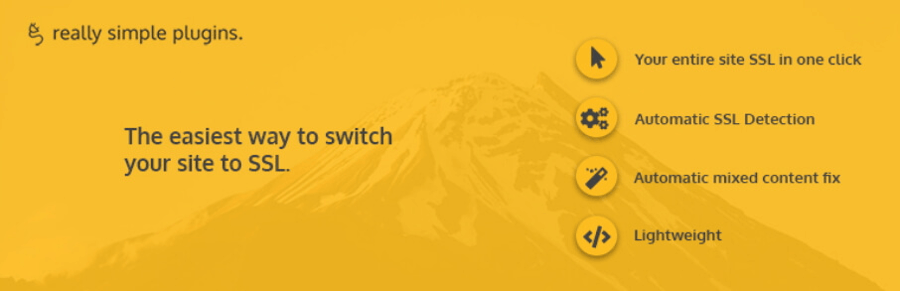
Once you install and enable the plugin, it will scan your website for a WordPress SSL certificate. If it finds one, it will help you enable HTTPS throughout your entire site with a single click. To do this, just visit the new Settings › SSL tab in your dashboard, and click on the Reload over HTTPS button. With that, you’re good to go!
By following these steps, you can successfully install SSL on your WordPress website and provide a secure browsing experience for your visitors. Remember, maintaining a secure website is an ongoing process, so stay vigilant and keep your SSL certificate and security measures up to date. Your visitors will appreciate the peace of mind knowing that their data is safe and protected on your site.