WooCommerce: A Step-by-Step Tutorial for WordPress User

Date : October 16, 2023 

Introduction:

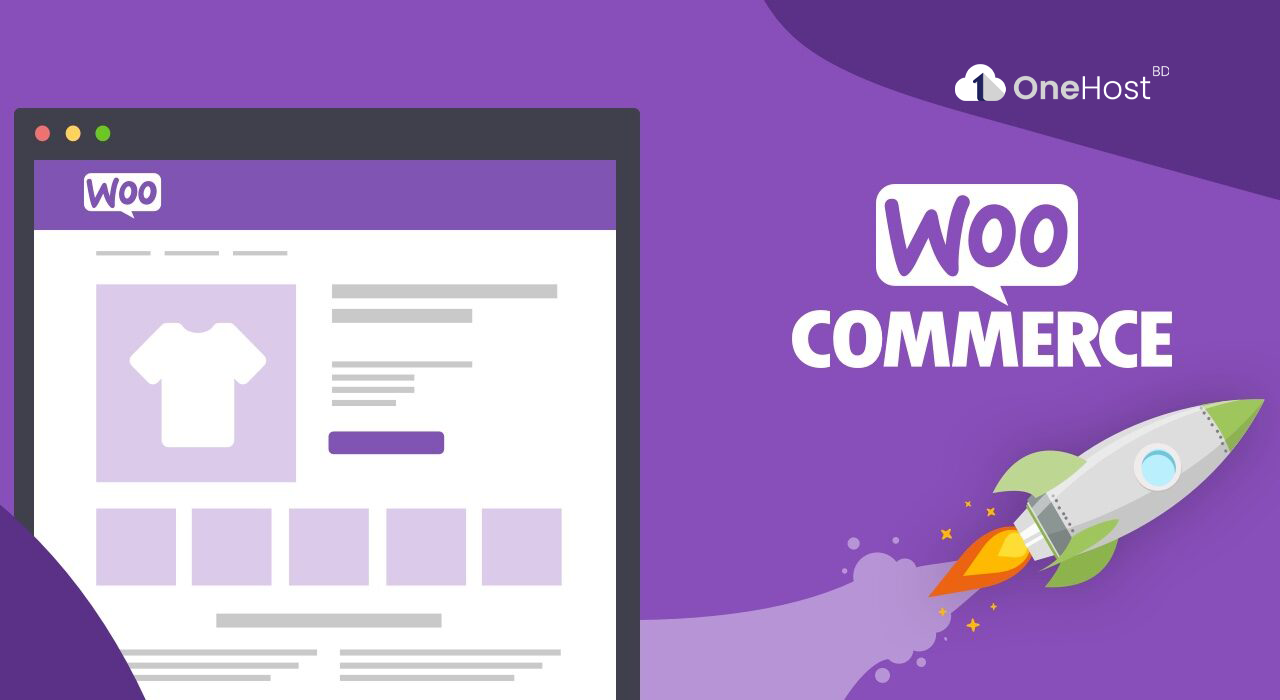
WordPress WooCommerce is a powerful plugin that transforms your WordPress site into a fully functional e-commerce store. In this step-by-step tutorial, we will guide you through the process of setting up and configuring WooCommerce to start selling products or services online.

Prerequisites:

  1. A self-hosted WordPress website (not WordPress.com).
  2. A domain name and hosting plan.
  3. Basic knowledge of WordPress.

Step 1: Install WordPress and Choose a Theme

If you haven't already, install WordPress on your domain and choose a suitable theme for your online store. Many themes are designed to work seamlessly with WooCommerce, so consider one of those for a better integration experience.

Step 2: Install the WooCommerce Plugin

  1. Log in to your WordPress admin dashboard.
  2. Navigate to "Plugins" in the sidebar and click "Add New."
  3. Search for "WooCommerce" in the search bar.
  4. Click "Install Now" and then "Activate" to enable the plugin.

Step 3: Set Up WooCommerce

Once WooCommerce is activated, you will be guided through an initial setup wizard.

  1. Store Setup:
    • Choose your store's location and currency.
    • Define whether you want to sell physical or digital products or both.
  2. Shipping & Tax:
    • Configure your shipping methods and rates.
    • Set up your tax options based on your location and tax regulations.
  3. Payments:
    • Select payment gateways (PayPal, Stripe, etc.) that you want to offer to customers.
    • Configure payment settings for your chosen gateways.
  4. Recommended Extensions:
    • Install any recommended extensions that are relevant to your store. You can skip this step for now if you're not sure.
  5. Ready to Go:
    • Review your setup details and click "Continue."

Step 4: Add Products

Now that WooCommerce is set up, it's time to add your products:

  1. In the WordPress admin dashboard, go to "Products" and click "Add New."
  2. Fill in the product details, including title, description, price, and images.
  3. Set product categories and tags for easy organization.
  4. Configure inventory, shipping, and tax options for each product.
  5. Click "Publish" to make your product live on your store.

Step 5: Customize Your Store

WooCommerce provides various customization options to match your store's branding:

  1. Go to "WooCommerce" in your WordPress dashboard.
  2. Explore options like "Settings," "Appearance," and "Customizer" to customize your store's layout, colors, and fonts.

Step 6: Set Up Additional Store Pages

WooCommerce creates essential pages for your store automatically, but you may need to customize them or create new ones for terms and conditions, privacy policy, etc.

  1. In your WordPress dashboard, go to "Pages" and edit the existing WooCommerce pages or create new ones.
  2. Add relevant content, such as return policies and privacy information, to these pages.

Step 7: Test Your Store

Before launching your store, thoroughly test it to ensure everything works as expected. Place test orders, check the payment process, and review the shopping cart.

Step 8: Launch Your Online Store

Once you are confident that everything is working correctly, it's time to launch your WooCommerce store.

Conclusion:

Setting up an online store with WordPress WooCommerce is a manageable process, even for beginners. Follow this step-by-step guide, and you'll be well on your way to running a successful e-commerce business on your WordPress website. Remember to keep your store regularly updated, add new products, and promote it to attract customers. Good luck with your e-commerce venture!

Share this Post
Copyright 2023 OneHost BD. All Rights Reserved
apartmentenvelopephone-handsetcrosschevron-down