How to Create a Website Using WordPress on OneHost BD: A Comprehensive Guide
Creating a website has never been easier, thanks to the powerful combination of WordPress and OneHost BD. Whether you're building a blog, an e-commerce site, or a professional portfolio, this step-by-step guide will walk you through the process of setting up your website using WordPress on OneHost BD. This guide is designed to be SEO-friendly, ensuring that your website is not only easy to build but also optimized for search engines from the get-go.
Why Choose WordPress and OneHost BD?
Before diving into the steps, it’s essential to understand why WordPress and OneHost BD are a perfect match for your website.
- WordPress is the world’s most popular content management system (CMS), powering over 40% of all websites on the internet. It’s user-friendly, highly customizable, and supported by a vast community of developers who create themes and plugins to enhance your website’s functionality.
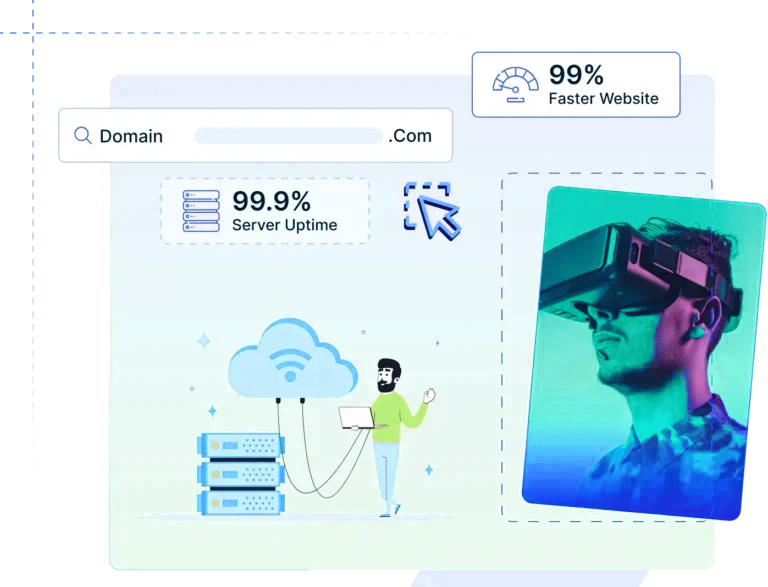
- OneHost BD is Bangladesh's leading domain and hosting provider, known for its reliable service, affordable pricing, and excellent customer support. With OneHost BD, you can expect high-speed hosting, 99.9% uptime, and robust security features, making it an ideal choice for hosting your WordPress site.
Step 1: Purchase a Domain and Hosting
The first step in creating your website is purchasing a domain and hosting plan from OneHost BD.
- Visit OneHost BD’s Website: Start by visiting the OneHost BD website. Navigate to the hosting section to explore the various hosting plans available. Choose a plan that best suits your needs—whether you’re starting small or need more robust features for a larger site.
- Register a Domain Name: Your domain name is your website’s address on the internet (e.g., www.yoursite.com). During the checkout process, you can search for and register a domain name that reflects your brand or personal identity. If you already own a domain, you can transfer it to OneHost BD during this step.
- Complete Your Purchase: Once you’ve selected your hosting plan and domain name, proceed to checkout. OneHost BD offers various payment options, including mobile banking services like bKash, Rocket, and Nagad, making it easy to complete your purchase.
Step 2: Access cPanel on OneHost BD
After successfully purchasing your hosting plan, you will receive an email from OneHost BD containing your cPanel login credentials.
WordPress on OneHost WordPress on OneHost WordPress on OneHost WordPress on OneHost WordPress on OneHost WordPress on OneHost WordPress on OneHost WordPress on OneHost WordPress on OneHost WordPress on OneHost
- Log in to cPanel: Access cPanel by visiting the URL provided in your welcome email. Enter your username and password to log in. cPanel is a powerful control panel that allows you to manage your website’s backend, including file management, databases, email accounts, and more.
- Familiarize Yourself with cPanel: Spend a few minutes exploring the cPanel interface. Understanding the basic features of cPanel will help you manage your website more effectively as you grow.
Step 3: Install WordPress on OneHost BD
Installing WordPress on OneHost BD is a breeze, thanks to the Softaculous App Installer available in cPanel.
- Locate the WordPress Installer: In cPanel, look for the "Softaculous" or "WordPress Installer" icon, usually found under the "Scripts" or "Applications" section. Click on the icon to begin the installation process.
- Start the Installation: Click on "Install Now" to start the WordPress installation process. You’ll be prompted to fill in some essential information:
- Choose the Version: Select the latest version of WordPress available.
- Select the Domain: Choose the domain where you want to install WordPress. If you’re installing it in the main directory, leave the "In Directory" field blank. If you want to install WordPress in a subfolder (e.g., www.yoursite.com/blog), specify the directory.
- Site Settings: Enter your site name and description. You can always change these later from the WordPress dashboard.
- Admin Account: Set a username, password, and email address for your WordPress admin account. Make sure to choose a strong password for security purposes.
- Complete the Installation: Once you’ve filled in all the required details, click "Install." The installer will take a few moments to set up WordPress on your domain. After the installation is complete, you’ll receive a confirmation message with a link to your new WordPress site.
Step 4: Access Your WordPress Dashboard
Now that WordPress is installed, you can access your WordPress dashboard, where you’ll manage your website’s content, design, and settings.
- Login to Your Dashboard: Visit yourdomain.com/wp-admin (replace "yourdomain.com" with your actual domain) to access the WordPress login page. Enter the admin username and password you set during the installation.
- Explore the Dashboard: The WordPress dashboard is your website’s command center. Take some time to explore the different sections, including "Posts," "Pages," "Appearance," "Plugins," and "Settings." Familiarizing yourself with the dashboard will make it easier to manage your website moving forward.
Step 5: Choose a WordPress Theme
Your website’s design is crucial for creating a positive first impression. WordPress offers thousands of free and premium themes to help you achieve the look and feel you want.
- Navigate to Themes: In the WordPress dashboard, go to "Appearance" > "Themes."
- Browse and Install a Theme: Click "Add New" to browse the WordPress theme repository. You can search for themes by keyword, filter by features, or explore popular and latest themes. Once you find a theme you like, click "Install" and then "Activate" to apply it to your site.
- Upload a Custom Theme: If you have a theme purchased from an external source, click "Upload Theme" to install it from a .zip file.
Step 6: Customize Your Website
With your theme installed, it’s time to customize your website to match your brand or personal style.
- Customize Your Site: Go to "Appearance" > "Customize" to open the WordPress Customizer. Here, you can modify your site’s title, tagline, colors, fonts, and more. The options available will depend on your chosen theme.
- Set Up Widgets and Menus: Navigate to "Appearance" > "Widgets" and "Appearance" > "Menus" to set up your site’s sidebar, footer widgets, and navigation menus. These elements play a crucial role in enhancing user experience and site navigation.
Step 7: Add Content to Your Website
Content is king when it comes to SEO and user engagement. WordPress makes it easy to create and manage content for your website.
- Create Pages: In the WordPress dashboard, go to "Pages" > "Add New" to create static pages like "About Us," "Services," and "Contact Us." Use the WordPress block editor to add text, images, and other media to your pages.
- Create Posts: If you’re running a blog, go to "Posts" > "Add New" to create blog posts. Organize your posts using categories and tags to improve site structure and SEO.
- Optimize Content for SEO: Use SEO plugins like Yoast SEO or Rank Math to optimize your pages and posts for search engines. This includes setting meta titles, descriptions, and focus keywords.
Step 8: Install Essential Plugins
Plugins extend the functionality of your WordPress site, allowing you to add features like contact forms, social sharing buttons, and more.
- Install Plugins: Go to "Plugins" > "Add New" to browse and install plugins from the WordPress repository. Some essential plugins to consider include:
- Yoast SEO: For optimizing your site’s SEO.
- Akismet: For spam protection.
- Jetpack: For site security, performance, and management tools.
- Contact Form 7: For creating contact forms.
- Activate and Configure Plugins: After installing a plugin, click "Activate" to enable it on your site. Most plugins will have a settings page where you can configure their options.
Step 9: Configure Permalinks and Other Settings
Optimizing your site’s structure and settings is essential for both user experience and SEO.
- Set Permalinks: Go to "Settings" > "Permalinks" to choose a URL structure for your site. For SEO purposes, it’s recommended to use the "Post name" option, which creates clean and descriptive URLs (e.g., yourdomain.com/sample-post/).
- General Settings: Visit "Settings" > "General" to review and update your site’s title, tagline, and other basic settings.
- Reading Settings: Go to "Settings" > "Reading" to set your homepage display. You can choose to display your latest posts or a static page as the homepage.
Step 10: Set Up Regular Backups and Keep Your Site Updated
Maintaining your WordPress site is crucial for security and performance.
- Install a Backup Plugin: Use a plugin like UpdraftPlus or BackWPup to schedule regular backups of your site. Store backups on a remote location like Google Drive or Dropbox for added security.
- Keep WordPress Updated: Regularly update your WordPress core, themes, and plugins to ensure your site remains secure and compatible with the latest web technologies. WordPress will notify you of available updates in the dashboard.
- Monitor Your Site’s Performance: Use tools like Google Analytics and Google Search Console to monitor your